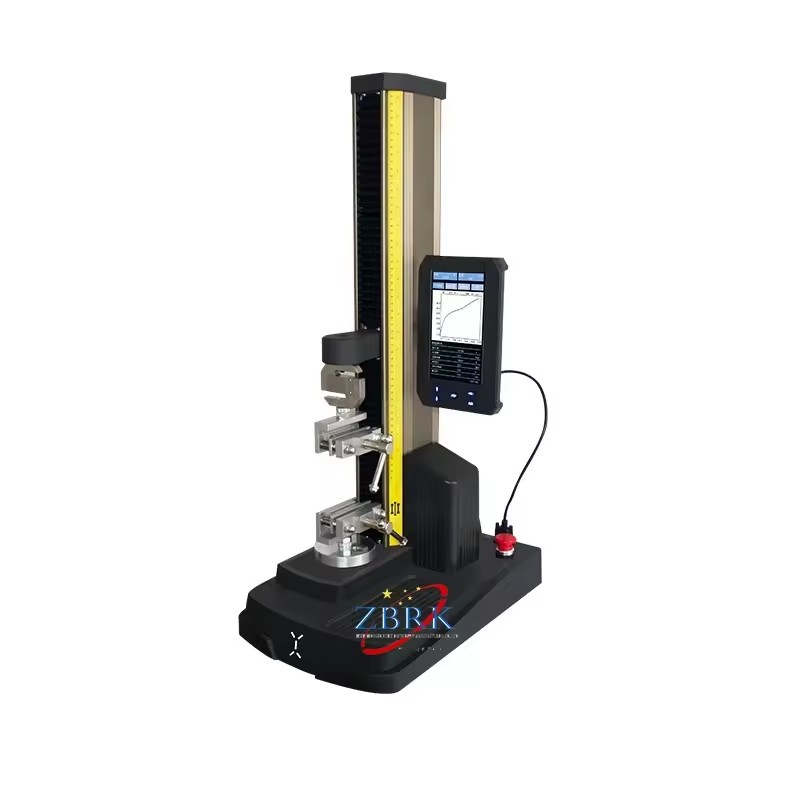
Fully automatic one-piece rebound tester

Fully automatic integrated rebound tester is used for non-destructive testing and evaluation of the compressive strength of hardened concrete in building structures.

specificities

1. One-piece design, compact size.
2. Dedicated color screen display, automatic recording of the detection time and date.
3. The machine matches the national uniform and local curves, which can be set and selected by yourself.
4. Angle, test surface, whether pumping, carbonization and other parameters can be set on-site
5. Voice reading function, noisy environment can also be equipped with headphones to monitor.
6. Optional micro-printer on-site printing test results.
7. Ultra-low power consumption design, continuous use of power supply time of 8 ~ 10 hours.
8. Equipped with high-speed USB data transmission port can be transmitted to the computer data.
9. The upper computer software will save the data in excel format, you can directly generate word report format, the later software processing is simple and convenient.
10. Can manually correct the measurement data.
11. Chinese and English interfaces can be freely switched, which is more convenient for foreign customers to use.

Technical Parameters

1.Strength range: 10-60Mpa
2. Nominal kinetic energy: 2.207J
3.Stiffness of spring: 7.84N/cm
4. Impact clock stroke: 75mm
5.The consistency error of display value: ≤±0.5
6… Anvil rate fixed rebound value: 80±2
7. Volume: 55x55x 270
8.Weight: 1.0kg

Steel Bar Corrosion Tester/ Reinforcing Steel rebar corrosion scanner

Application Overview

The corrosion of reinforcement in structural concrete reduces the effective cross-sectional area and
increases the volume of reinforcement, resulting in concrete expansion and spalling, and the reduction of binding capacity and bearing capacity between reinforcement and concrete, which directly affects the safety and durability of concrete structure.Therefore, the detection of reinforcement corrosion degree in concrete structure is an important content of safety evaluation and appraisal of existing building structure.
Potential electrode size:
30mm * 120mm
Weight 100g
Screen size:
5 inches
Volume
195 * one hundred and forty * 45mm
Weight2
0.8kg
Test accuracy
1mV
Measuring point spacing
1~100cm
Data storage capacity
5400 survey areas / 228000 survey point data
Working ambient temperature
– 10℃~40℃

Asphalt Flash Fire Point Tester Cleveland Open Cup Flash Point Tester

I. Main technical features
1. It adopts special heating furnace to ensure the safety of test. The heating power is continuously adjustable.It can meet requirements of test.
2. The instrument adopts desktop structure.The stainless steel working table and furnace shell make it beautiful and elegant.
3. The instrument is fully self-contained complete.The operator can do determination as long as connecting with coal gas or other civil gas.
4. It equipped with flame extinguishing cover which accord with requirements of test.

II. Main technical specifications
1. Power supply: AC(220±10%)V, 50Hz.
2. Heating device: Quartz tube furnace heating, no naked fire, explosion prevented.The power is adjustable from 0W to 600W.
3. Test flame applicator: It applies the test flame automatically.
4. Thermometer: (-6~400)℃. It is the same as thermometer ASTM 11C.
5. Igniting device: (1) Ignition source: coal gas(or civil gas,the same below)
(2) Flame diameter is 3.2mm~4.8mm
6. Ambient temperature: (-10∼50)℃
7. Relative humidity: ≤85%
8. Maximum power consumption: 650W
9. Dimension: 350mm×290mm×350mm (thermometer is not included)

Product name Asphalt Flash Fire Point Tester Cleveland Open Cup Flash Point Tester
Heating device power 0-600W
Sweep device Automatic sweep
Nozzle aperture 0.6~0.8 mm
Ambient temperature 10 ℃ ~ 50 ℃
Relative humidity 85% or less
Size 410*330*225mm

Profoscope rebar and steel detector locator for concrete cover meter

The steel protective layer measuring instrument is a portable non-destructive testing instrument, which can be used for the detection of the construction quality of reinforced concrete structures. It can measure the position of the steel bars on the concrete surface, detect the thickness of the steel protective layer and the diameter of the steel bars. In addition, the magnetic properties inside the concrete structure can also be The position of the body and the conductor are detected, such as the internal cable of the wall, the plumbing pipe, etc., and the detection before construction can effectively avoid damage to these facilities during construction and reduce accidents.

Specification model GTJ-R800

Rebar diameter

setting range(mm)

∅6mm ~ ∅50mm Host parameter screen size:2.8inch
Small range 1-80mm Resolution:240×320
Large range 1-180mm volume:220×93×110mm

Maximum thickness

of protective layer

±1(mm) 1-59mm weight:0.6kg
±2(mm) 60~100mm

Data transmission

method

TF-card
±4(mm) 100-180mm Power supply lithium battery
Diameter estimation range ∅6mm~∅32mm storage

2000member*1000

Measuring point

Diameter indication

 maximum error

±1specification

Working environment

 requirements

temperature:-10℃~+40℃

Profile measurement

function

stand by humidity:<90%RH
Grid measurement function stand by other requirements

Does not contain corrosive

gases in the air

Waveform measurement

function

stand by

No strong electromagnetic

field interference.

There should be no large

vibration and shock

Probe self-calibration stand by Avoid direct sunlight

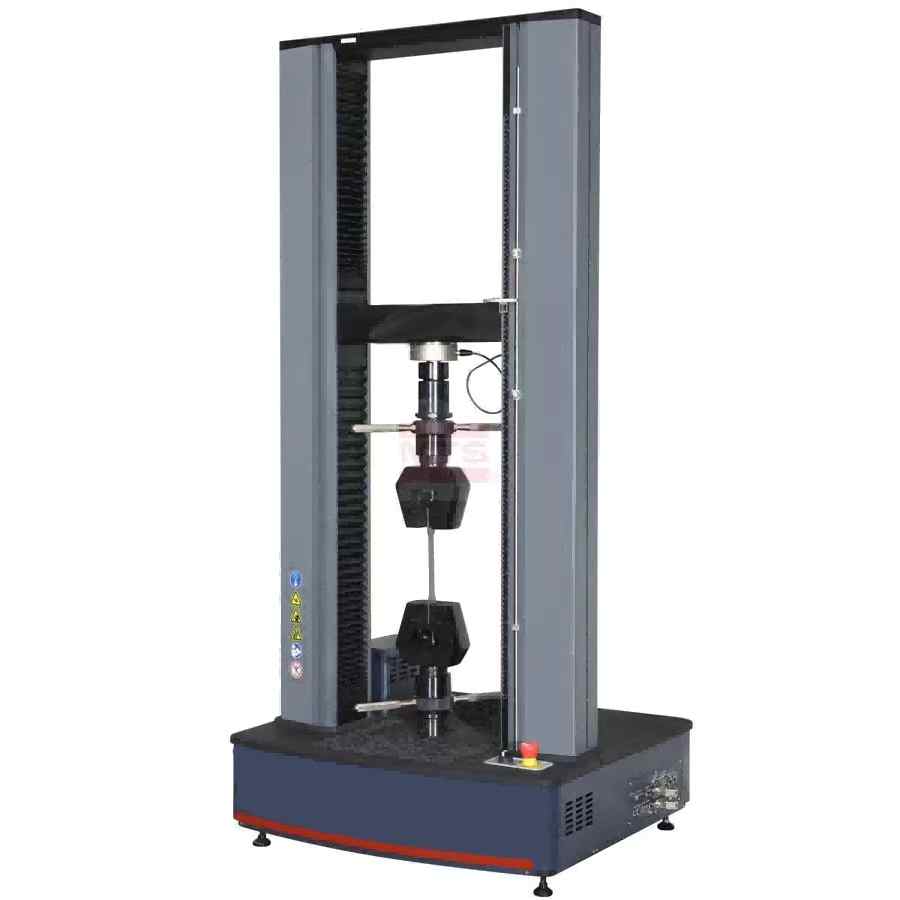
WDW 50 High Quality Universal Testing Machine Procuced by the source Manufacturer

NO.
Items
Model
WDW-10E
WDW-20E
WDW-30E
WDW-50E
WDW-100E
1
Host
Structure
column and 2 Ball Screw
Max. Load(kN)
10
20
30
50
100
Tensile space(mm)
670
700
650
Compression space(mm)
900
1000
1000
Effective test width
450
450
550
size(mm)
850 x 590 x 1750
840 x 570 x 1850
950x660x2000
Host Weight (mm)
370kg
420kg
680kg
Power Supply
220V/50-60Hz

Multifunctional pressure testing machine for measuring brick, stone, concrete and other building materials

The pressure testing machine is mainly used to measure the compressive strength of building materials such as brick, stone and concrete. The pressure testing machine is mainly used to measure the compressive strength of building materials such as brick, stone and concrete.

Maximum load
2000KN
Minimum resolution
0.1KN
Maximum distance between pressure plates
320mm
upper and lower pressure plates size
220mm ,250mm
Piston diameter x Max. stroke
Φ250mm, 30mm
Motor power
0.75KW
Voltage
220V,50Hz
Overall Dimensions
900x 360x 1300mm
Net weight
700Kg

Lab Transverse and Longitudinal Zipper Reciprocating Pull Stretching Tensile Testing Machine

The measurement and control software use for all kinds of metal and non-metal materials test, and complete a variety function, such as real-time measurement and display, data analysis, and result output.

This series material testing machine product group was primarily developed for standardized tests on ma- terials and components. Used in conjunction with the intuitive HKtest software. Test Typical: wide range of tension, compression, bending, shearing and low cycle test. include metal, building components, rubber, plastic, spring, high strength steel (HSS), aerospace and automotive structures, screws, nuts,large fasteners, wood products etc.

Item

Description

Frame capacity

200kg

Load cell brand

China brand, 200kg (5,10,50,100kg are optional)

Load accuracy

1% F.S

Printing

Built-in Printer

Control system

Controller with LED

Motor

Adjustable-speed motor, ball screw rod

Force reading

KG/N/LB

Vertical test space

900mm including fixture

Test speed

50~300mm/min (adjustable by rotary knob)

Software

TM 2101

Data display

Max. break force

Safety features

Over-load protection

Upper and lower limit switches

Load sensor with automatic retreat

Electronic universal testing machine product technical introduction

The 100N~10kN (1 ton) electronic universal testing machine CMT1000 series is mainly used for testing and analyzing the mechanical properties of metal and non-metallic materials such as tension, compression, bending, etc. It can automatically obtain test parameters such as ReH, ReL, Rp0.2, Fm, Rt0.5, Rt0.6, Rt0.65, Rt0.7, Rm, E, etc. It can also conduct tests and provide data according to international standards such as GB, ISO, DIN, ASTM, JIS, etc.

This machine adopts CSS electronic system control. The zero time waiting control task provided by the CSS electronic system can provide customers with more guaranteed auxiliary protection functions, perfect legal operation full process tracking function for complex material testing, and simple, tidy, and firmly connected interface components to ensure long-term stable and reliable equipment operation.


Equipment parameters:


Equipment name: Double column desktop electronic universal testing machine

Equipment specification and model CMT1000 series

CMT1102, CMT1202, CMT1502, CMT1103, CMT1203, CMT1503, CMT1104

Maximum test force 100N, 200N, 500N, 1kN, 2kN, 5kN, 10kN

Accuracy level 0.5

Load parameter test force measurement range 0.4%~100% FS (full scale)

Test force indication error within ± 0.5% of the indicated value

Test force resolution: ± 1/300000 of the maximum test force, without dividing the entire process, and the resolution remains unchanged throughout the entire process

Large deformation parameters, large deformation measurement range 10~600mm

Large deformation indication error within ± 1% of the indication value

Large deformation measurement resolution 0.008mm

Displacement parameter displacement indication error within ± 0.2% of the indication value

Displacement resolution 0.015 μ M

Control parameter force control rate adjustment range 0.005~5% FS/s

When the force control rate control accuracy rate is less than 0.05% FS/s, it is within ± 2% of the set value, and when the rate is ≥ 0.05% FS/s, it is within ± 0.5% of the set value;

Deformation rate adjustment range 0.005~5% FS/s

When the deformation rate control accuracy rate is less than 0.05% FS/s, it is within ± 2% of the set value, and when the rate is ≥ 0.05% FS/s, it is within ± 0.5% of the set value;

Test bench speed adjustment range: 0.001~500mm/min

The speed control accuracy of the test bench is within ± 0.2% of the set value

Constant force, constant deformation, and constant displacement control range 0.5% to 100% FS

When the set value of constant force, constant deformation, and constant displacement control accuracy is ≥ 10% FS, it is within ± 0.5% of the set value; when the set value is<10% FS, it is within ± 1% of the set value

Main machine parameters, overall size 570mm × 390mm × 1400mm

Effective stretching space (including stretching fixture) 650mm

Effective compression space (including stretching fixture) 800mm

Maximum distance of beam movement 900mm

Effective test width 350mm

Power supply 220V/50Hz, ± 10%

Power 400W

Host weight 70Kg


The 100N~10kN (1 ton) electronic universal testing machine CMT1000 series is mainly used for testing and analyzing the mechanical properties of metal and non-metallic materials such as tension, compression, bending, etc. It can automatically obtain test parameters such as ReH, ReL, Rp0.2, Fm, Rt0.5, Rt0.6, Rt0.65, Rt0.7, Rm, E, etc. It can also conduct tests and provide data according to international standards such as GB, ISO, DIN, ASTM, JIS, etc.

This machine adopts CSS electronic system control. The zero time waiting control task provided by the CSS electronic system can provide customers with more guaranteed auxiliary protection functions, perfect legal operation full process tracking function for complex material testing, and simple, tidy, and firmly connected interface components to ensure long-term stable and reliable equipment operation.


Equipment parameters:


Equipment name: Double column desktop electronic universal testing machine

Equipment specification and model CMT1000 series

CMT1102, CMT1202, CMT1502, CMT1103, CMT1203, CMT1503, CMT1104

Maximum test force 100N, 200N, 500N, 1kN, 2kN, 5kN, 10kN

Accuracy level 0.5

Load parameter test force measurement range 0.4%~100% FS (full scale)

Test force indication error within ± 0.5% of the indicated value

Test force resolution: ± 1/300000 of the maximum test force, without dividing the entire process, and the resolution remains unchanged throughout the entire process

Large deformation parameters, large deformation measurement range 10~600mm

Large deformation indication error within ± 1% of the indication value

Large deformation measurement resolution 0.008mm

Displacement parameter displacement indication error within ± 0.2% of the indication value

Displacement resolution 0.015 μ M

Control parameter force control rate adjustment range 0.005~5% FS/s

When the force control rate control accuracy rate is less than 0.05% FS/s, it is within ± 2% of the set value, and when the rate is ≥ 0.05% FS/s, it is within ± 0.5% of the set value;

Deformation rate adjustment range 0.005~5% FS/s

When the deformation rate control accuracy rate is less than 0.05% FS/s, it is within ± 2% of the set value, and when the rate is ≥ 0.05% FS/s, it is within ± 0.5% of the set value;

Test bench speed adjustment range: 0.001~500mm/min

The speed control accuracy of the test bench is within ± 0.2% of the set value

Constant force, constant deformation, and constant displacement control range 0.5% to 100% FS

When the set value of constant force, constant deformation, and constant displacement control accuracy is ≥ 10% FS, it is within ± 0.5% of the set value; when the set value is<10% FS, it is within ± 1% of the set value

Main machine parameters, overall size 570mm × 390mm × 1400mm

Effective stretching space (including stretching fixture) 650mm

Effective pressure

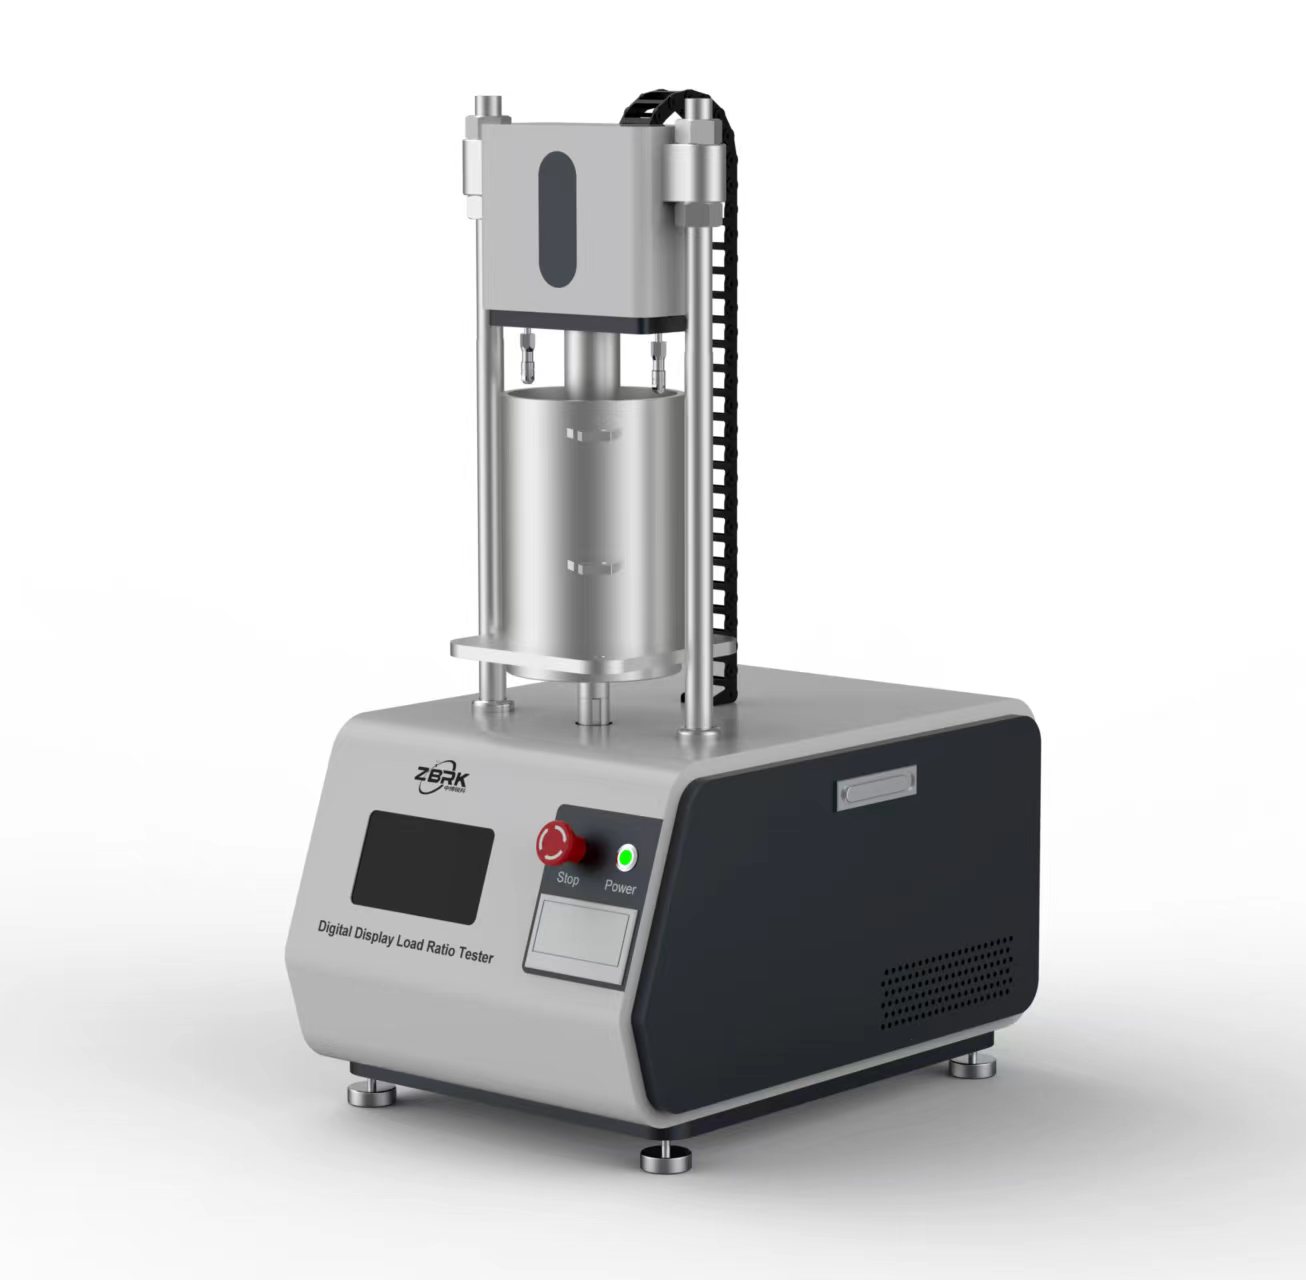
Technical introduction of CBR load ratio tester

The CBR bearing ratio tester is suitable for carrying out bearing ratio tests on various soil and mixtures (soil with a particle size less than 40mm) after being compacted in a specified test cylinder mold to determine the bearing capacity of the designed road surface, road base, subbase, and roadbed material layer. The instrument consists of a host, a force measuring ring, a penetration rod, an additional planting plate, a percentage gauge, and an expansion measurement device. The instrument has the characteristics of small size, high output, and easy operation.

The CBR load ratio testing machine is suitable for conducting load ratio tests on various soil and mixtures (soil with a particle size less than 40mm) after compaction in a specified cylindrical mold to determine the bearing capacity of the designed pavement, pavement base, subbase, and subgrade material layers. The instrument consists of a host, a force ring, a penetration rod, a planting plate, a dial gauge, and an expansion measurement device. This instrument has the characteristics of small volume, large output, and easy operation.


Main parameters of CBR bearing ratio tester:

★ Speed: 1mm/min, high pressure 3T

★ Penetration rod: end face diameter φ 50mm. internal diameter φ 52mm long 100mm

★ Perforated plate: two pieces

★ Dial gauge: 0-10mm, three pieces φ

★ Load plate: 6 pieces (outer diameter φ 150mm, inner diameter φ 52mm, each 1.25Kg)

★ Test cylinder: inner diameter φ 125mm, 170mm high, cushion block φ 151mm, height 50mm, same as heavy compaction test cylinder.

★ Overall dimensions: 310X310X930mm

★ Weight: 100kg

Main parameters of CBR load ratio tester:

★ Speed: 1mm/min Multi pressure 3T

★ Through rod: End face diameter φ 50mm. 100mm long inner diameter φ 52mm

★ Perforated plate: two pieces

★ Dial gauge: 0-10mm, three φ

★ Load plate: 6 pieces (outer diameter φ 150mm, inner diameter φ 52mm, each 1.25kg).

★ Cylinder: Inner diameter φ 125mm, 170mm high, gasket φ 151mm, height 50mm. Same as heavy compaction test cylinder.

★ Overall dimensions: 310X310X930mm

★ Weight: 100kg


Usage method of CBR bearing ratio tester:

★ Turn on the power switch, operate the instrument, check if the working condition of the instrument is normal, check if the handle is in and out, and rotate normally. If everything is normal, prepare to start the test.

Prepare test specimens according to the “Test Specification for Highway Pavement Base Materials” JTJ075-85 Bearing Ratio Test Method.

★ Measurement of saturation expansion:

★ Measurement of saturated expansion: Place the test piece that has undergone moisture curing on a porous plate equipped with an adjustment rod, and add sufficient load plates on the plate to ensure that the pressure on the surface of the test piece is equal to the pressure on the road surface of the material layer,

★ Place the test tube and porous plate together in the sink (without draining water) and tighten the mold with a pull rod. Install a dial gauge and take the initial reading.

★ Drain water into the sink to allow it to freely enter the top of the specimen. During the period of saturation, the water in the sink should be kept 25mm above the top surface of the specimen, usually soaking for 96 hours,

At the end of the soaking time, read the dial gauge reading and calculate the expansion amount.

=Change in specimen height after soaking/original specimen height (120mm) ×**

★ Take out the sample from the sink, pour out the water on the sample, let it stand for 15 minutes to drain, then remove the additional load, porous plate, bottom plate, and filter paper, and bear the load M to calculate the depth and density changes of the sample.

★ Penetration test: Place the specimen after the saturated water test on the lifting plate of the tester, adjust the alignment between the penetration rod and the force measuring ring, and place a predetermined number of load plates around the penetration rod.

Firstly, apply a 45N load to the penetration rod using a handwheel, and then adjust the force measuring ring and deformation measuring dial gauge to zero.